Protein Popcorn
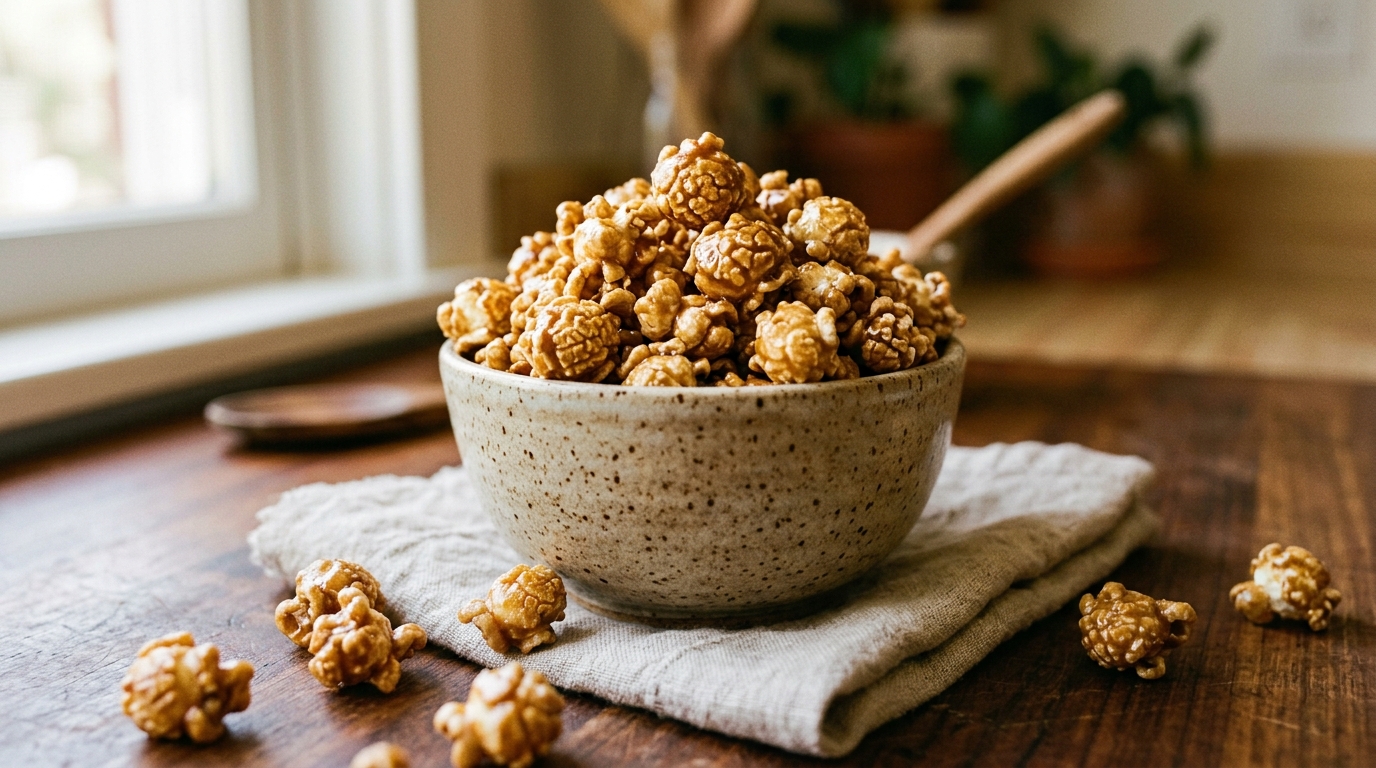
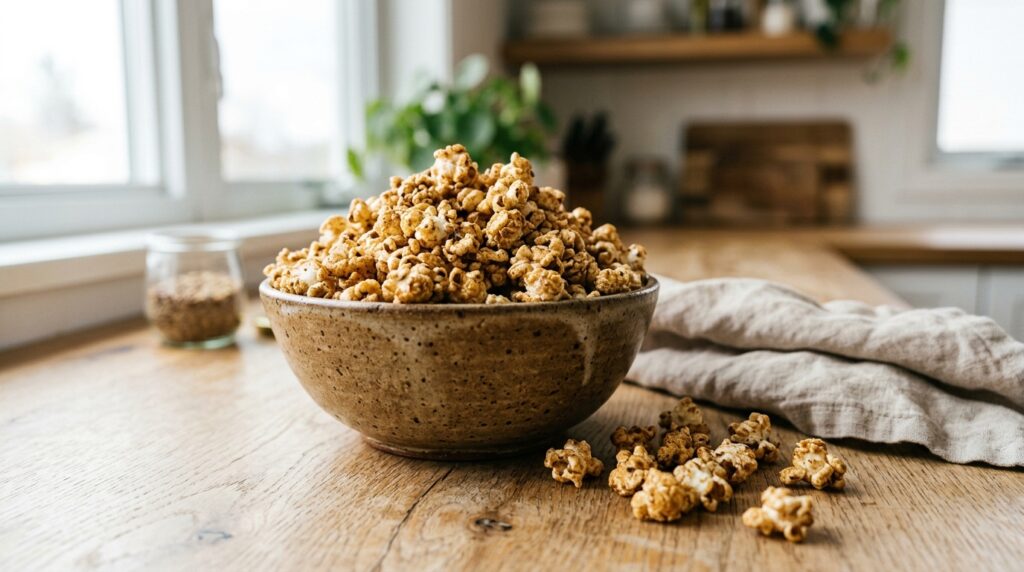
This Protein Popcorn turns movie-night snacking into something you can feel good about, with a crisp, sweet-and-salty coating that beats any store-bought protein snack. Made with air-popped popcorn, melted butter, and a scoop of protein powder, this high-protein snack recipe comes together in about 15 minutes with no baking required. Browse more of our high-protein snack recipes for ideas to keep your prep rotation exciting.
Why You’ll Love This Recipe
- This protein popcorn delivers 10g of protein per serving, turning a classic snack into a smarter option.
- Ready in 15 minutes with just 5 pantry ingredients and no oven needed.
- Crisp, sweet-and-salty coating that clings to every piece.
- No baking required, just a quick stovetop glaze and a good toss.
- This protein popcorn also keeps well for days, making it an easy grab-and-go option for busy weeks.
- It also works as a crunchy topping for yogurt bowls when you want extra texture.
Ingredients Overview
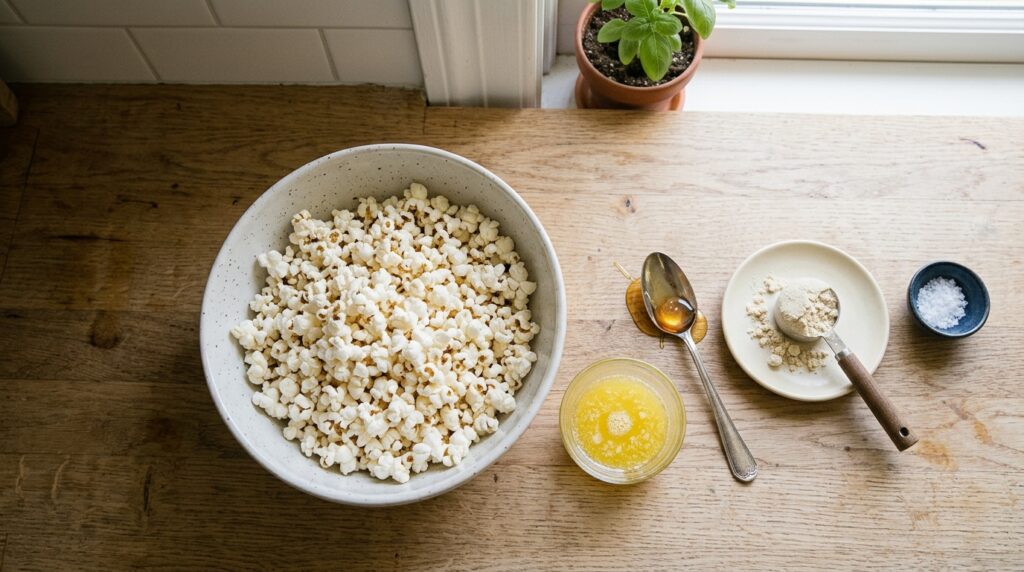
This protein popcorn recipe starts with simple air-popped popcorn, kept light and crunchy with no oil needed if you use an air popper. A quick glaze made from melted butter, honey, and a scoop of protein powder coats every piece, adding protein without turning the snack into candy. Whey protein dissolves smoothly into warm butter, which according to the Cleveland Clinic makes it an easy way to add protein to everyday foods.
Honey balances the saltiness and helps the coating cling to the popcorn, while a pinch of salt keeps the whole thing from tasting one-note sweet. A touch of vanilla in the protein powder rounds out the flavor nicely. This protein popcorn glaze also makes the kitchen smell faintly of caramel corn while it sets.
Step-by-Step Instructions
Follow these simple steps to make crisp, sweet-and-salty protein popcorn at home.
- Air-pop the popcorn kernels according to your popcorn maker’s instructions, or pop on the stovetop, to yield about 8 cups popped popcorn. Transfer to a large bowl.
- In a small bowl, whisk together the melted butter, honey, and salt until combined.
- Add the protein powder to the butter mixture and whisk quickly until it forms a thick, smooth coating.
- Drizzle the coating over the warm popcorn, tossing continuously to coat evenly.
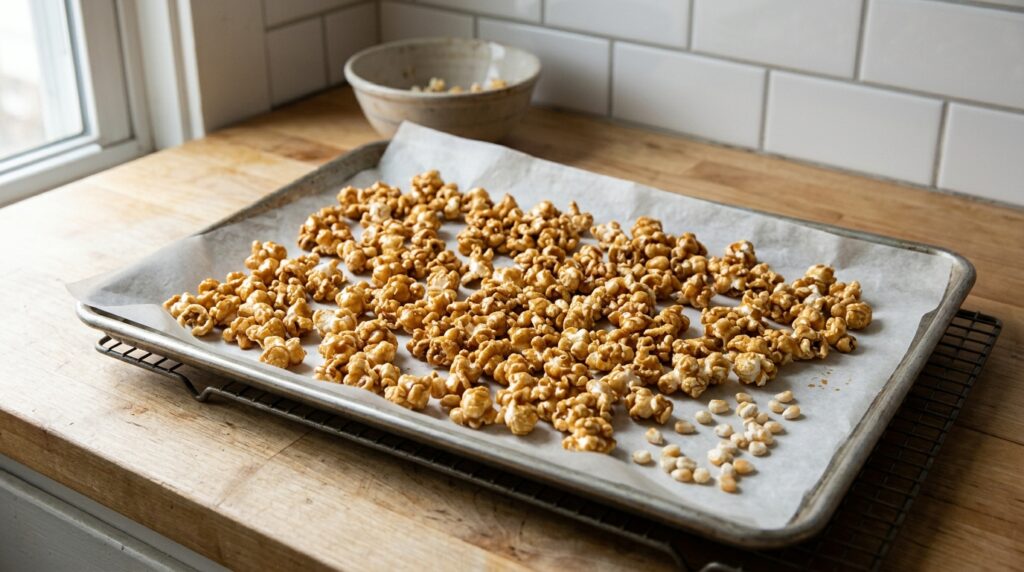
- Spread the coated popcorn on a parchment-lined baking sheet in a single layer.
- Let cool for 10-15 minutes until the coating sets and the popcorn turns crisp.
💡 Pro Tip: Work quickly once you add the protein powder to the butter mixture. It thickens fast and can clump if it sits too long before you toss it with the popcorn.
Meal Prep & Storage Tips
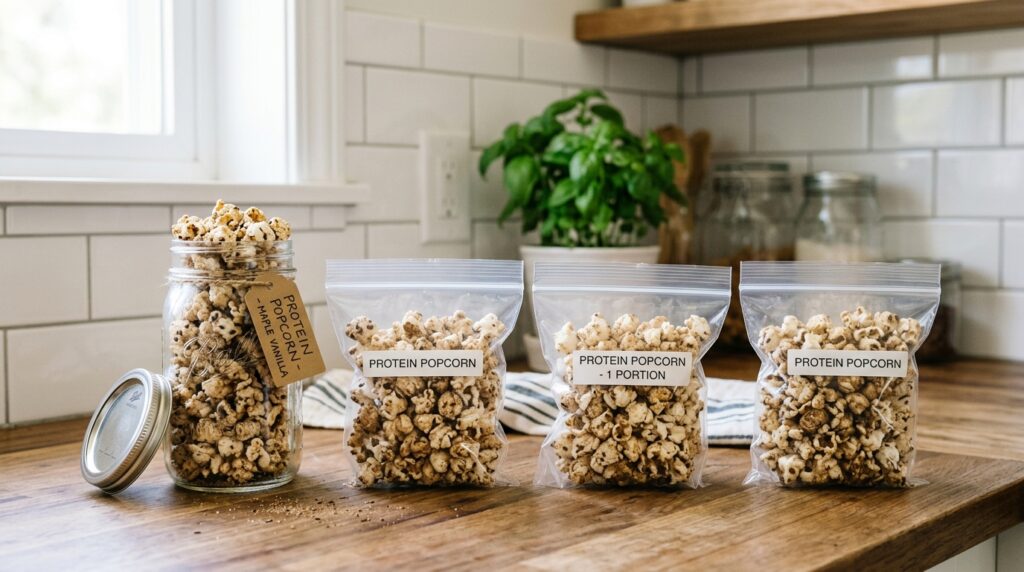
This protein popcorn stores well in an airtight container at room temperature for up to 5 days. Keep it away from humidity, since the coating can soften if exposed to moisture. For the crispiest texture, avoid refrigerating it, as condensation can make the popcorn chewy instead of crunchy. Portion it into small bags or containers for easy grab-and-go snacking throughout the week. A layer of parchment between batches also helps keep the pieces from sticking together.
Variations & Substitutions
No vanilla protein powder? Chocolate or cinnamon-flavored protein powder both work well in this protein popcorn. Swap the honey for maple syrup for a slightly different flavor, or use a sugar-free syrup to cut the sugar further. Dairy-free? Use coconut oil instead of butter for the base coating. For extra crunch, add a handful of mini pretzels or peanuts before the coating sets. A dash of cinnamon or a pinch of cayenne can also give the coating an extra kick.
FAQ
Can I use microwave popcorn instead?
Yes, just use plain, unbuttered microwave popcorn so the protein coating is the only flavor added.
Can I double this recipe?
Yes, this protein popcorn recipe doubles easily. Just use a larger bowl for tossing so every piece gets coated evenly.
Why did my coating turn clumpy instead of coating evenly?
Protein powder thickens quickly once mixed with warm butter, so toss it with the popcorn right away rather than letting it sit.
Can I use a different sweetener?
Yes, maple syrup or agave both work as a 1:1 swap for honey in this recipe.
Conclusion
This protein popcorn proves that movie-night snacking and macro-friendly eating aren’t mutually exclusive. It comes together in minutes, costs less than store-bought protein snacks, and tastes like a treat while still working toward your protein goals. Sign up for our newsletter for more high-protein snack ideas delivered straight to your inbox.
You Might Also Like:
- Protein Pretzels — soft, chewy, and ready in under 30 minutes.
- Protein Muffins — soft, moist, and bursting with blueberries.
- Protein Cookies — soft, chewy, and ready in under 20 minutes.
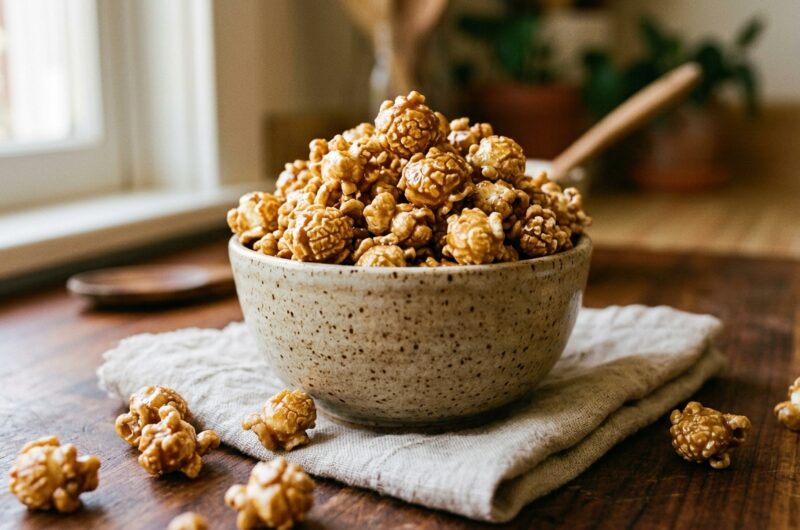
Protein Popcorn
Course: Snack RecipesCuisine: AmericanDifficulty: Easy10g protein per
5
minutes10
minutes150
kcalCrisp, sweet-and-salty protein popcorn coated in a quick butter, honey, and protein powder glaze, ready in 15 minutes with no baking required.
Ingredients
1/3 cup (65g) popcorn kernels (about 8 cups popped)
3 tablespoons (42g) unsalted butter, melted
1 scoop (30g) vanilla whey protein powder
2 tablespoons honey
1/4 teaspoon salt
Directions
- Air-pop the popcorn kernels to yield about 8 cups popped popcorn. Transfer to a large bowl.
- Whisk together the melted butter, honey, and salt until combined.
- Add the protein powder and whisk quickly until it forms a thick, smooth coating.
- Drizzle the coating over the warm popcorn, tossing continuously to coat evenly.
- Spread the coated popcorn on a parchment-lined baking sheet in a single layer.
- Let cool for 10-15 minutes until the coating sets and the popcorn turns crisp.